
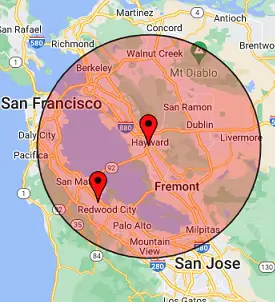



GARAGE DOOR OPENER REPAIR
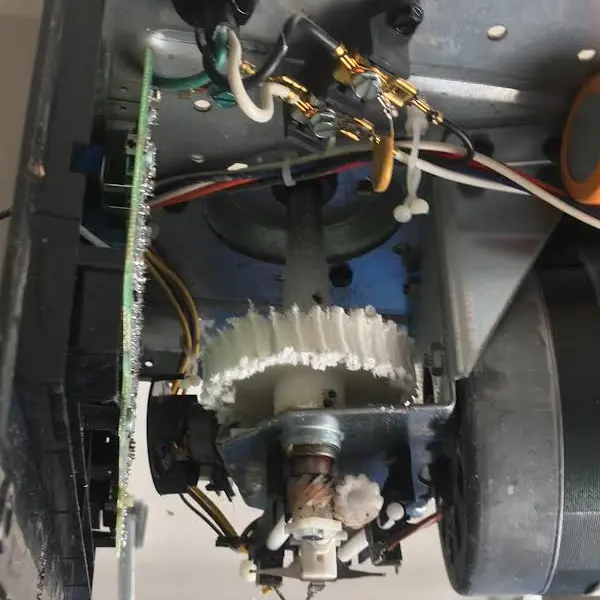
- GEAR SPROCKET ASSEMBLY REPLACEMENT
- Professional Gear Sprocket Assembly Replacement
- Fixes for Noisy Operation or Grinding Sounds
- Ensures Smooth and Reliable Operation
- High-Quality Replacement Parts
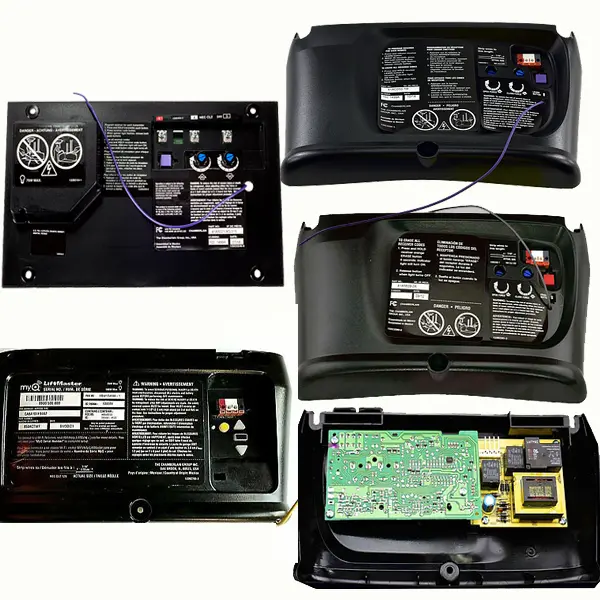
- LOGIC BOARD REPLACEMENT
- Expert Logic Board Replacement
- Fixes for Intermittent Functionality
- Resolves Unresponsive Remote Controls
- Ensures Consistent Operation
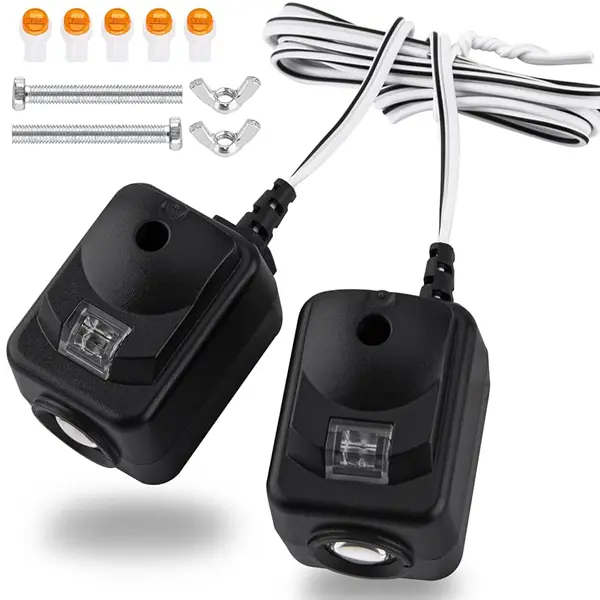
- SAFETY SENSORS REPLACEMENT
- Professional Safety Sensors Replacement
- Fixes for Door Reversing or Not Closing
- Ensures Safe Operation and Compliance
- High-Quality Sensors for Reliability
GEAR SPROCKET ASSEMBLY REPLACEMENT
The gear and sprocket assembly is the drive set inside a chain or belt opener, and it's usually the first part to fail — the nylon main gear strips out, so the motor runs but the door doesn't move, often with a grinding or whirring sound.
911 Garage Doors rebuilds these openers instead of pushing a full replacement. We fit a manufacturer-matched gear kit, re-grease the drive and reset the travel limits, so your LiftMaster, Chamberlain or Genie opener lifts smoothly again — usually in a single visit.
Hearing a grind, or seeing the motor spin while the door stays put? That's the classic stripped-gear symptom. We confirm it on-site and quote the fix before we start.
LOGIC BOARD REPLACEMENT
The logic board is the circuit board that runs your opener — it reads the remotes, wall button and safety sensors and tells the motor what to do. Power surges and age can fry it, which shows up as dead remotes, random reversals, or an opener that ignores commands.
We diagnose board faults properly before swapping anything — sometimes what looks like a dead board is really a sensor or capacitor. When the board is the culprit, we install the correct replacement logic board for your model and re-pair your remotes and keypad.
If your opener responds intermittently, forgets its programming, or stops mid-cycle, the logic board is a likely suspect — and a far cheaper fix than a whole new opener.
SAFETY SENSORS REPLACEMENT
The photo-eye safety sensors near the bottom of the tracks stop the door from closing on a car, pet or person. When they're knocked out of alignment, dirty or failing, the door won't close — it reverses and the opener light blinks.
We realign, clean or replace faulty safety sensors and verify the auto-reverse works to current safety code. It's a quick, inexpensive fix we often handle within the same hour we arrive.
Door reverses just before it closes, or won't close unless you hold the wall button? That's almost always the sensors — exactly the kind of fast call-out we specialize in.
MOTOR REPLACEMENT
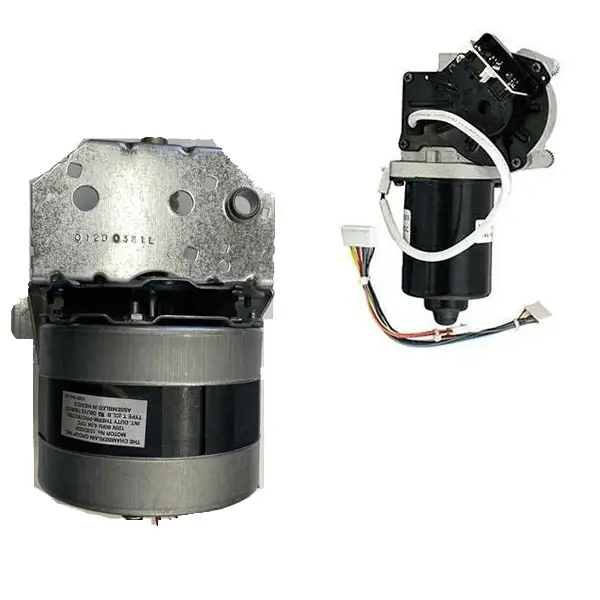
The opener motor does the heavy lifting, and after years of daily cycles it can overheat, lose torque or burn out — leaving you with a door that struggles, stalls halfway, or won't budge.
If the motor is truly done, we install a quality replacement motor or opener unit sized to your door's weight so it lifts with power to spare. If it's a capacitor or wiring fault imitating a dead motor, we catch that first and save you the cost.
A door that's slow, noisy under load, or quits partway up often points to a tired motor. We test it, tell you straight whether to repair or replace, and get you moving again fast.
Common LiftMaster Opener Errors
Common LiftMaster Opener Errors and Their Solutions
- Error 1-1: The logic board detected an internal issue.
- Error 1-2: The travel module or cable might be disconnected or defective.
- Error 1-3: The logic board is detecting a motor issue.
- Error 1-4: Motor not connected or motor wiring disconnected.
- Error 1-5: The motor has stalled, or there is an obstruction preventing the door from moving.
- Error 1-6: The logic board has failed and needs replacement.
- Error 2-1: The gear sprocket assembly is malfunctioning or damaged.
- Error 2-2: The logic board is detecting an issue with the RPM sensor.
- Error 2-3: The travel module is not responding, possibly due to a wiring issue.
- Error 2-4: The motor overheated during operation, possibly due to excessive force or a blockage.
- Error 3-1: The travel module is not programmed correctly or has lost its settings.
- Error 3-2: The logic board has detected an issue with the door’s travel limit.
- Error 3-3: The remote control signal is weak or the remote is malfunctioning.
- Error 3-4: There is interference with the remote control signal, or the logic board is malfunctioning.
- Error 4-1: The safety sensors are not aligned correctly or are obstructed.
- Error 4-2: The logic board is detecting a problem with the safety sensor wiring.
- Error 4-3: The safety sensor's infrared beam is blocked or the sensors are misaligned.
- Error 4-4: The safety sensors are not responding, possibly due to a power issue.
- Error 4-5: The garage door opener is not receiving a signal from the safety sensors.
- Error 4-6: The safety sensors have failed or are malfunctioning, preventing the door from closing.
- Error 5-1: The force settings on the garage door opener are too high or too low.
- Error 5-2: The garage door opener is encountering excessive resistance, possibly due to an obstruction.
- Error 5-3: The door is not properly balanced, causing the opener to strain.
- Error 5-4: The door is too heavy or the springs are not properly tensioned.
- Error 6-1: The logic board detected a communication error with the accessories (e.g., remote, wall control).
- Error 6-2: The wall control unit is malfunctioning or not receiving power.
- Error 6-3: The garage door opener is not responding to commands, possibly due to a control unit issue.
- Error 6-4: The logic board has detected an internal error and needs to be reset or replaced.